WINDOWS SERVER 2008 ACTION REQUIRED
In order for Windows 2008 Server Environments to communicate using TLS 1.2 and process payments after March 31, 2018, the following must be completed before XCharge is Installed:
The following steps are for Windows Server 2008 only. If you are using Windows Server 2008 R2, please click here
Requirements
Ensure Windows Server 2008 has all available Windows Updates- Service Pack 2 (SP2) is required to enable TLS 1.2 Support
- All available Windows Updates must also be installed to maintain PCI Compliance Standards.
- See steps below:
How to Enable TLS 1.2 on Windows Server 2008
- Add required TLS 1.2 registry entries through Command Prompt
- Open Command Prompt
- Paste each individual entry below into the command prompt and press Enter.
- reg add "HKEY_LOCAL_MACHINE\SYSTEM\CurrentControlSet\Control\SecurityProviders\SCHANNEL\Protocols\TLS 1.2\Client" /v DisabledByDefault /t REG_DWORD /d 0 /f
- reg add "HKEY_LOCAL_MACHINE\SYSTEM\CurrentControlSet\Control\SecurityProviders\SCHANNEL\Protocols\TLS 1.2\Server" /v DisabledByDefault /t REG_DWORD /d 0 /f
For more information regarding Windows TLS 1.2 requirements for Server 2008 SP2, please review the following Windows Knowledge Base article KB4019276
- Once you have enabled TLS 1.2 on your Windows Server 2008 SP2 system, complete the installation instructions below:
How do I install the XCharge update?
The XCharge update must be performed on the Microsoft Remote Desktop Services or Terminal Services Server using Install Mode.
Installation Steps
- Place the Remote Desktop Services or Terminal Services Server in Install Mode before completing the XCharge Update.
- Open Command Prompt
- Type “change user /install”
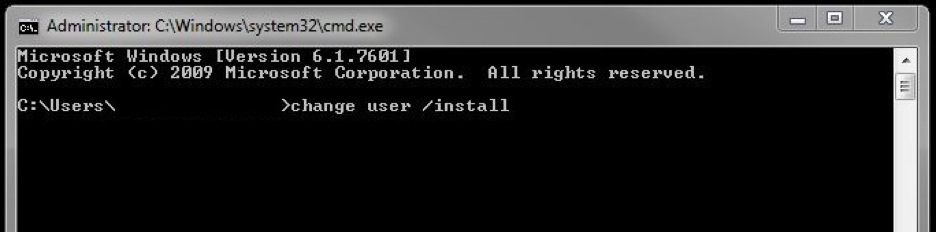
Your system is now in “Install Mode” and can successfully apply updates to all Remote Desktop Clients
- Open the XCharge application.
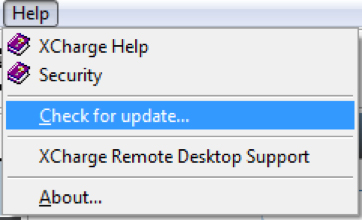
- Click “Help” at the top of the XCharge Window.
- Click “Check for Update…”.
- XCharge will display a prompt asking to continue checking for updates.
- Click “Yes”.
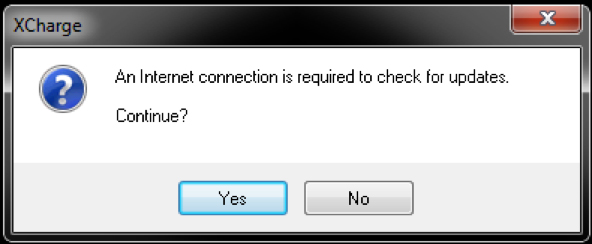
- XCharge will now check for updates.
- If a new update is available the following screen will display.
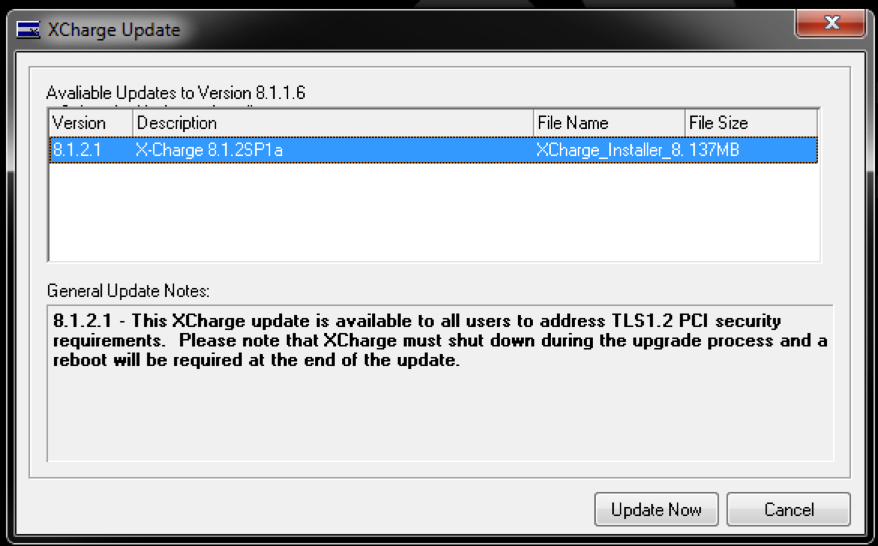
- If a new update is available the following screen will display.
- Click “Update Now” to proceed with updating XCharge.
- XCharge will now download the update.
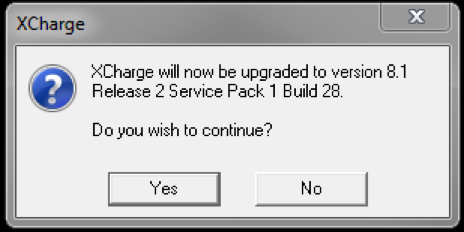
- Once the download has completed, you will be prompted to upgrade XCharge.
- Click “Yes” to continue.
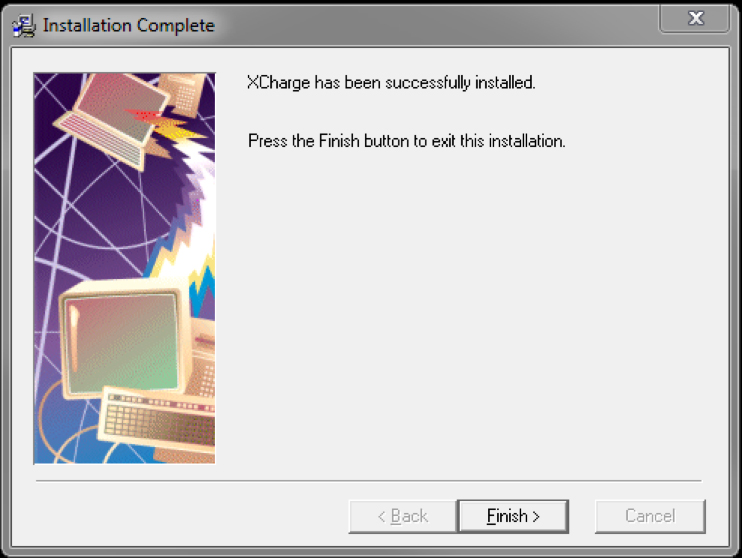
- XCharge will now perform the software update.
- Once completed, the “Installation Complete” window will display.
- Click “Finish” to complete the upgrade.
- Once the installation has completed, you will be prompted to restart the computer.

- Click “OK” to restart your computer.
How do I verify the XCharge update was successful?
- Once the update has completed, open the XCharge application.
- Click “Help” at the top of the XCharge Window.
- Click “Check for Update…”.
- If the update was successful, you will see a notification that “no new updates are available”.
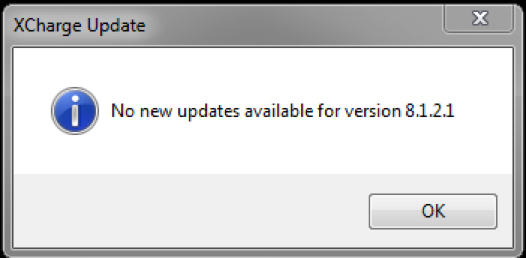
- Once you receive this message, you’re all set! Thank you for updating XCharge!
If you are experiencing lengthy download timeframes using Check for Updates, please download the necessary XCharge software here
OpenEdge cannot be held liable for interruptions caused by your failure to comply with the requirements described in this notice.